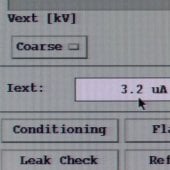
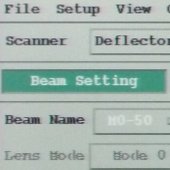
2. Open the LMIS tab and check that the extraction current Iext is around 3.2–3.4 μA. If not, use the slider to adjust it to that level.
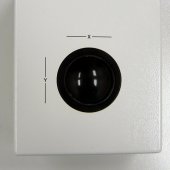
3. Using the trackball, locate an area that is suitable for aligning the beams you will be using for your FIB work. Choose an area that can be sacrificed by beam damage during the alignment. This area should be stable and conductive, with some surface topography.
| Patterning Users | Lift Out Users |
|---|---|
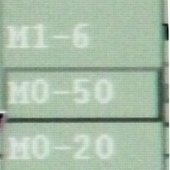
| M0–20 | Beam–01 |
| M0–50 | M0–20 |
| M1–50 | M0–50 |
| M1–100 | M1–50 |
| M1–100 | |
| M1–200 | |
| M1–300 | |
| M1–500 |
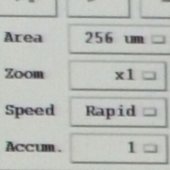
8. Set the scan Area x Zoom to 256 x 4 to visualize the feature of interest, and then focus.
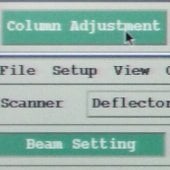
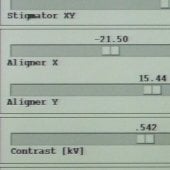
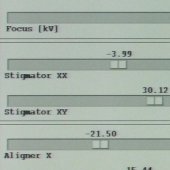
While focusing, check image for directional twisting (stigmation) and lateral shifting. First correct lateral shifting with the Aligner X and Y with Wobbler: ON.
Next, correct stigmation using Stigmator XX and YY. Make small adjustments to improve the image quality, and then recheck the focus to see whether the stigmation is gone.
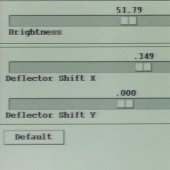
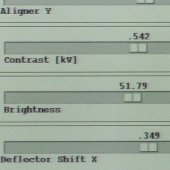
9. Set the Contrast and Brightness as necessary.
NOTE: You may need to move the specimen constantly when aligning beams with high currents to prevent erosion of the specimen.
10. Click Register to save the beam conditions after aligning each beam. Note the beam current for the beam you aligned. It should be between the Max and Min for that setting; it is acceptable if the beam current is over the Max.
11. Go on to the next Beam Name and repeat until you have aligned all required beams for your project.
NOTE: NEVER MAKE CHANGES TO THE APERTURE OR LENS MODE SETTINGS.
