NOTE: You must use the correct holder for lift-out.
NOTE: The Lift-Out procedure may be performed over two days instead of one as indicated in the procedure.
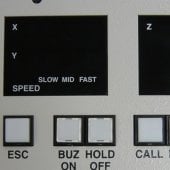
NOTE: The Micro-sampling System Main Unit consists of the MANIPULATION CONTROLLER, a holder rod, a tip or probe, and the rod evacuation buttons.
1. Check the eucentric position:
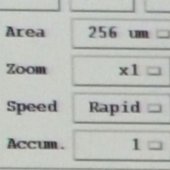
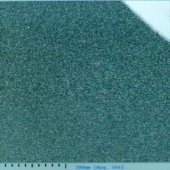
1.1. For the image parameters Area x Zoom = 256 x 1, find a visible mark and center it on the screen.
1.3. Under the Stage tab, enter the correct Z position. (Press Enter to record the data. The text will turn black if entered properly.) Click Go.
| On holder | Z position |
|---|---|
| Si wafer | 200 µm |
| Si wafer + 1 piece of tape | -300 µm |
1.4. Unlock the Z-axis linear actuator. Manually tilt the Z-axis linear actuator counterclockwise, watching the mark move upwards. When -60 degrees is reached, the mark should be positioned on the center of the screen. (Adjust the Z height if necessary.)
2. Return the tilt to 0 degrees.
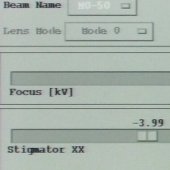
3. In the Column Adjustment menu, check that the M0-50 Coarse Focus is ~21.7. Register then Stop the beam.
4. Put the holder in detent.
4.2. Pull the holder straight out until it stops, and then turn it a few degrees clockwise to a stop and slowly release.
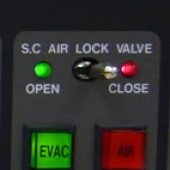
4.3. Open the S.C. AIRLOCK VALVE.
6. Checking the depo position:
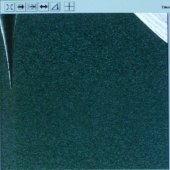
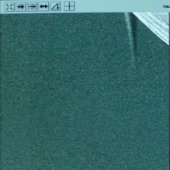
The gun should appear in the upper right hand area of screen. The gun edges should be ~1.5 x 1.5 in.
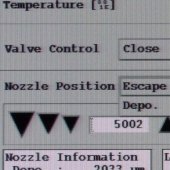
NOTE: If the gun does not appear, select Nozzle Position: Escape. Call the gun back in, and re-run the procedure. If this does not work, check that the Area x Zoom = 256 x 1. If you still do not see the gun, contact staff for manual adjustments.
NOTE: If the gun appears greater or less than the desired dimensions, call for assistance before proceeding.
6.2. Click FIVE TIMES to the right of the coarse focus slider. Adjust the contrast and brightness so you can see the detail of the gun (ridges).
6.3. Click FIVE TIMES to the left of the coarse focus slider to return you to the recorded specimen focus.
7. Checking the Micro-probe position:
7.1. Make sure the specimen is still in the detent position. (See Step 4 above.)
7.2. Make sure that the probe holder is in the SAMPLING position.
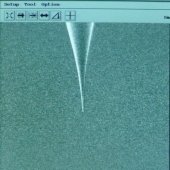
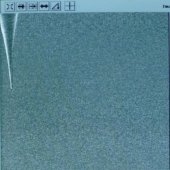
7.4. Center the tip using the trackball on the MANIPULATION CONTROLLER, and then focus and register.
NOTE: If you cannot find the tip, change the area to L-Scan and adjust the focus and contrast.
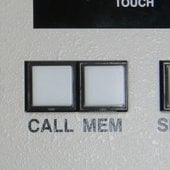
7.5. Use FAST speed to bring the Z position to 1500. Press MEM to store the location, then press ESC to remove the probe. Finally press CALL to bring the probe back in. Verify that the position is correct.
NOTE: If the probe does not come back to the saved position, find the tip. Move only in the LEFT and RIGHT directions with the trackball. Then, move slightly up or down and try the LEFT and RIGHT directions again. Repeat the procedure until found.
7.7. From the DEPO menu, select Nozzle Position: Depo to make sure the gun will not collide with the probe.
7.8. Lower the probe using the Z Encoder knob down to 0 and move the probe to the right so it is beneath the depo gun.
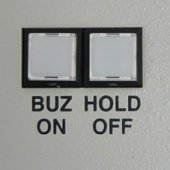
7.9. Press BUZ ON and HOLD OFF and bring probe back up until it touches the gun.
NOTE: The touch occurs when there is a change of contrast on the screen. Although the control board will "beep", you cannot always rely on this and the probe end may strike the specimen.
7.10. Record this Z position! (Generally around 792, but varies.)


